PYTHIA API Guide
The PYTHIA API documentation makes it easy for you to get started with examples that you can execute directly within the documentation.
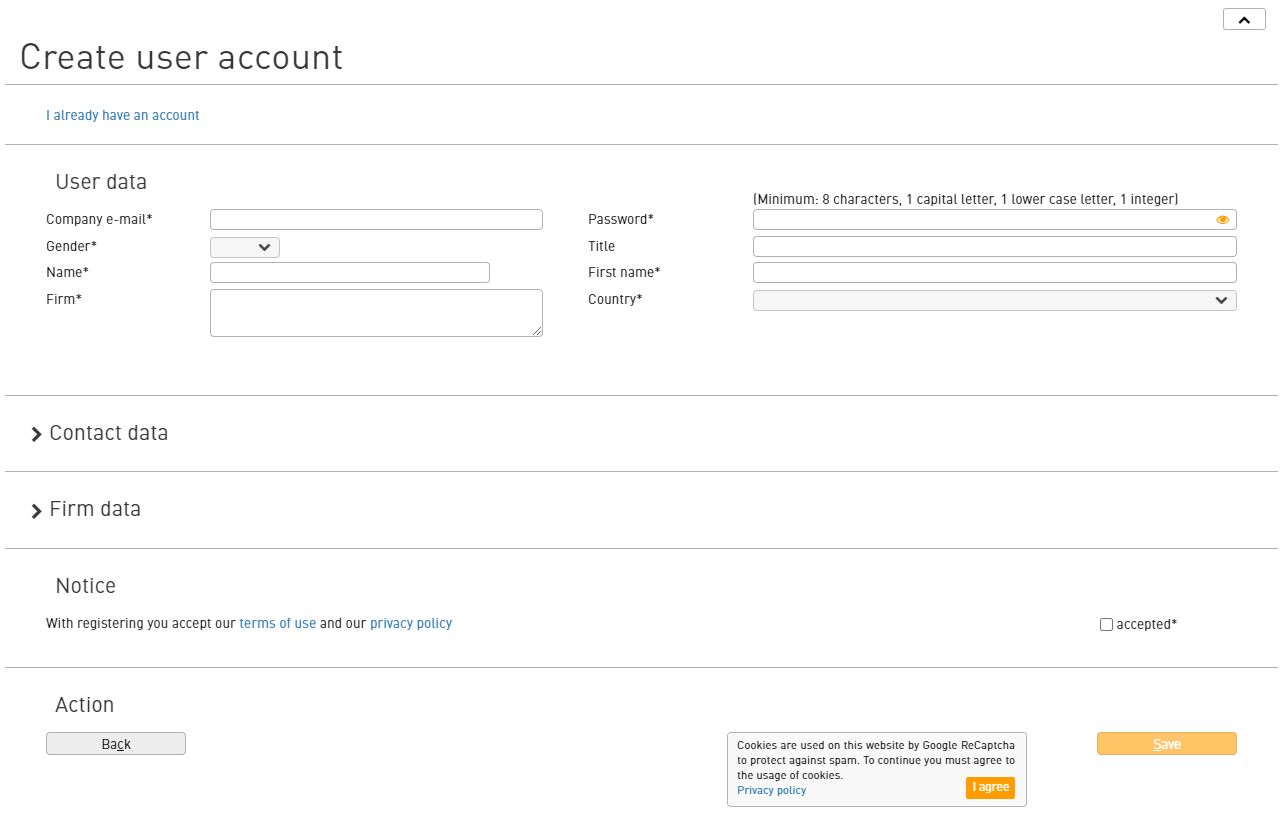
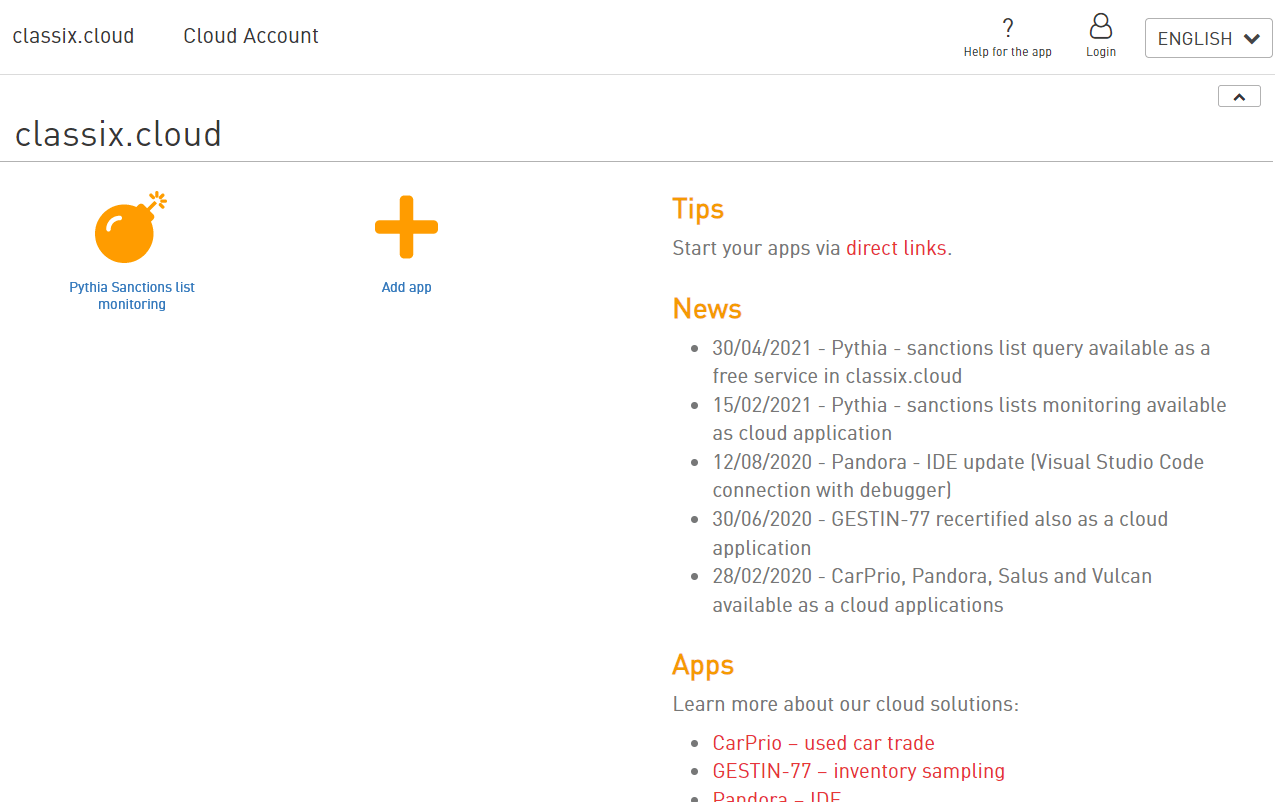
Before you do this, however, you need an API key, which you can generate within your Cloud account.
There you will find the API section under App Registrations in the lower area. Generate a key and a user there. After saving, you can use your API key directly.

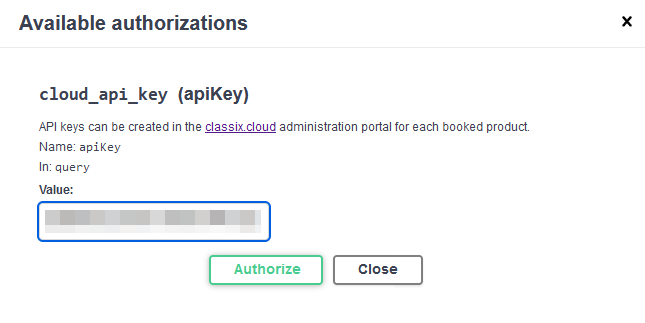
Within our PYTHIA API documentation you can now deposit your key via the Authorize button:

You can upload or update your own data via uploadDataSet.
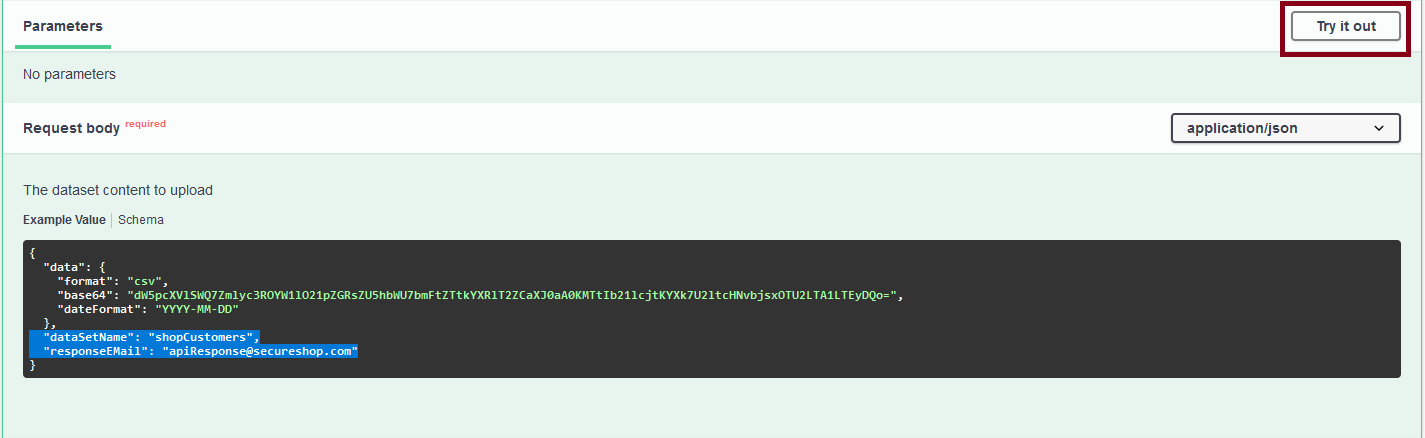
You should create the order term listed as dataSetName in your database in advance or simply omit the line. Of course, you must also adapt the responseEMail.
The example passed in base64 contains the following data:
uniqueId;firstName;middleName;name;dateOfBirth.
1;Homer;Jay;Simpson;1956-05-12
You can use the Try it out button to adjust the data to be sent as suggested and then send it via Execute.
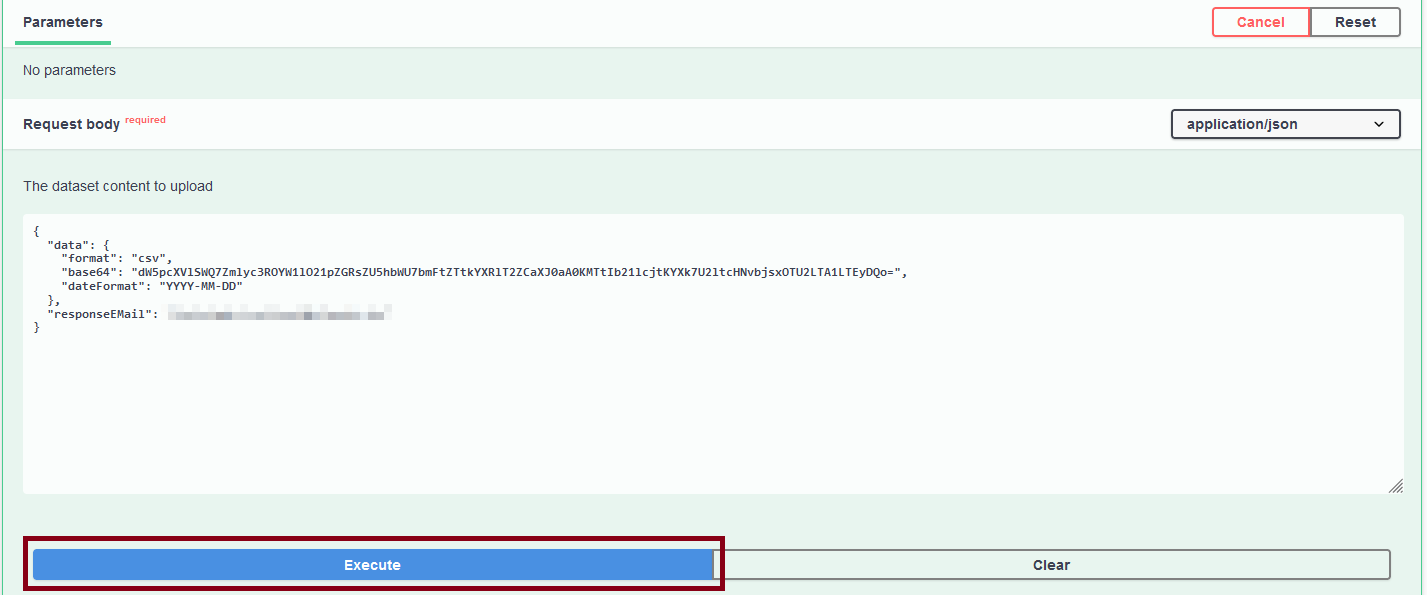
You will directly receive the response information with the unique jobId.
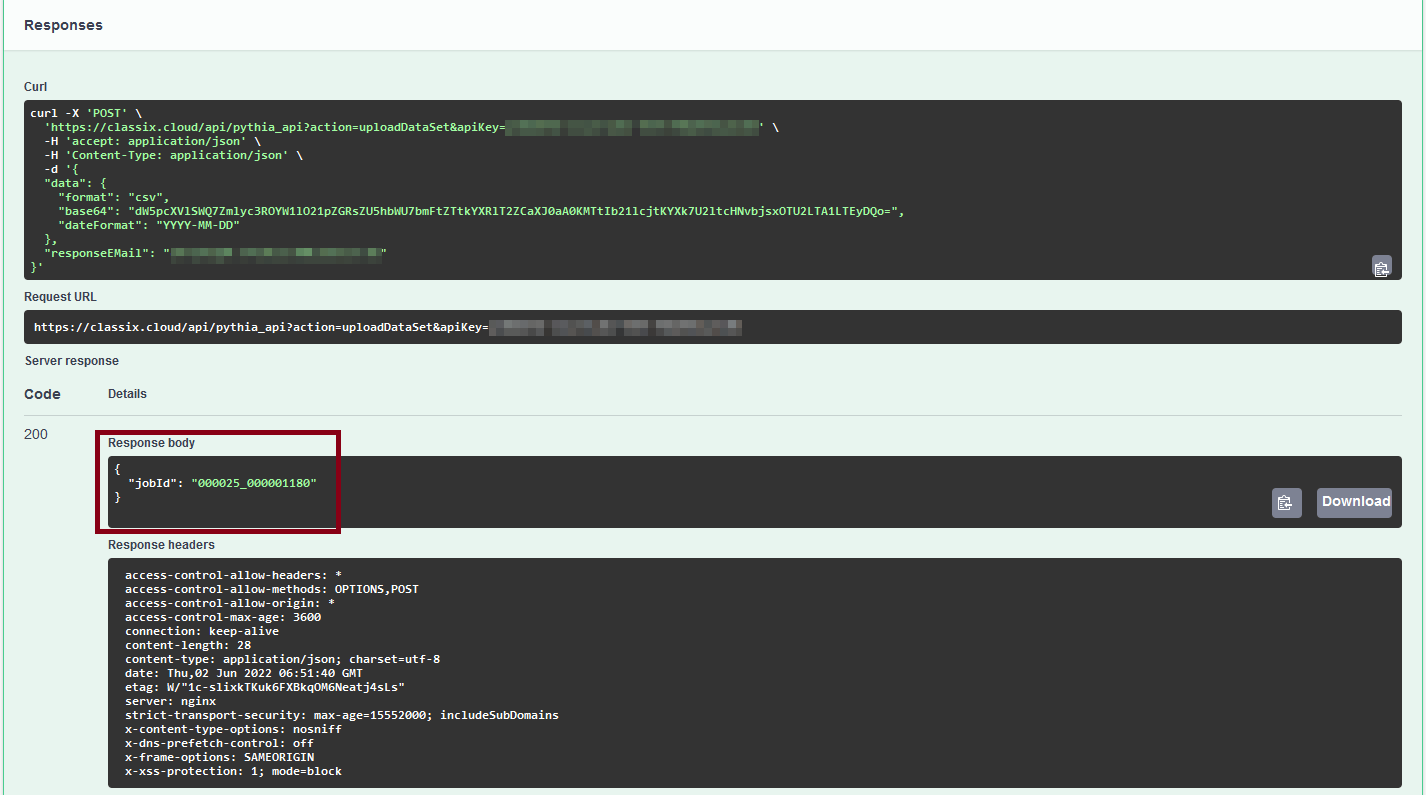
Thus, you can use getTasks to see which of your jobs are still running or you can simply wait until the email arrives.